A Guide to Mobile Phone Photography
Pt.2 of "TakingGood Photos For Dating Apps and IG" - The quest to create a higher quality dating or social media profile
When I initially wrote my guide to taking good photos, it was more focused on a logistical standpoint. I provided tools to find locations and structure the process to get photos. However, over time, I've offered a lot of feedback on profiles and observed that while people are making efforts, they just aren’t getting the right shots.
I even went out personally with about a dozen guys to assist them in taking pictures, and I realized that the information that men lack is more technical in nature.
While women learn and teach this to each other over time, spending thousands of hours and taking millions of pictures, many dudes give up quickly because they assume it's hard to learn. It's not. There are very simple principles that are easy to digest, especially if you view them from a logical sense, whereas many men assume that it's an art.
In this guide, I intend to break down aspects such as composition, lighting, focus, movement, and more to help you understand what goes into a "good" picture.
Why Cell Phones Are the Best Cameras Anyway
We live in an age where cell phones are no longer just for calls; in reality, they are computers and cameras with voice communication ability. While I do recommend "planning" your own personal photoshoot, cell phones also give you the spontaneity to create content on the fly.
There's no need to lug around an expensive or bulky camera. As a matter of fact, many places will no longer let you enter or take pictures with a full-sized camera, both for exclusivity and security reasons. The only thing you need to do now is invest in a good cell phone.
This article will be written from the standpoint of an iPhone user. Some specific settings will be iPhone-based. I personally think they have the best and most compatible cameras. Many social-based apps are built on iOS and then ported to Android. The second-best phone brand is Samsung. Either way, the most important thing is that your phone is of high enough quality to shoot in RAW format.
Setting Up Your Phone For Photography
Note: I have an iPhone 15 ProMax, which now has some extremely new settings. If you don’t have all of these new features, don’t worry about them. My previous phone was a 12 ProMax, and the settings are similar.
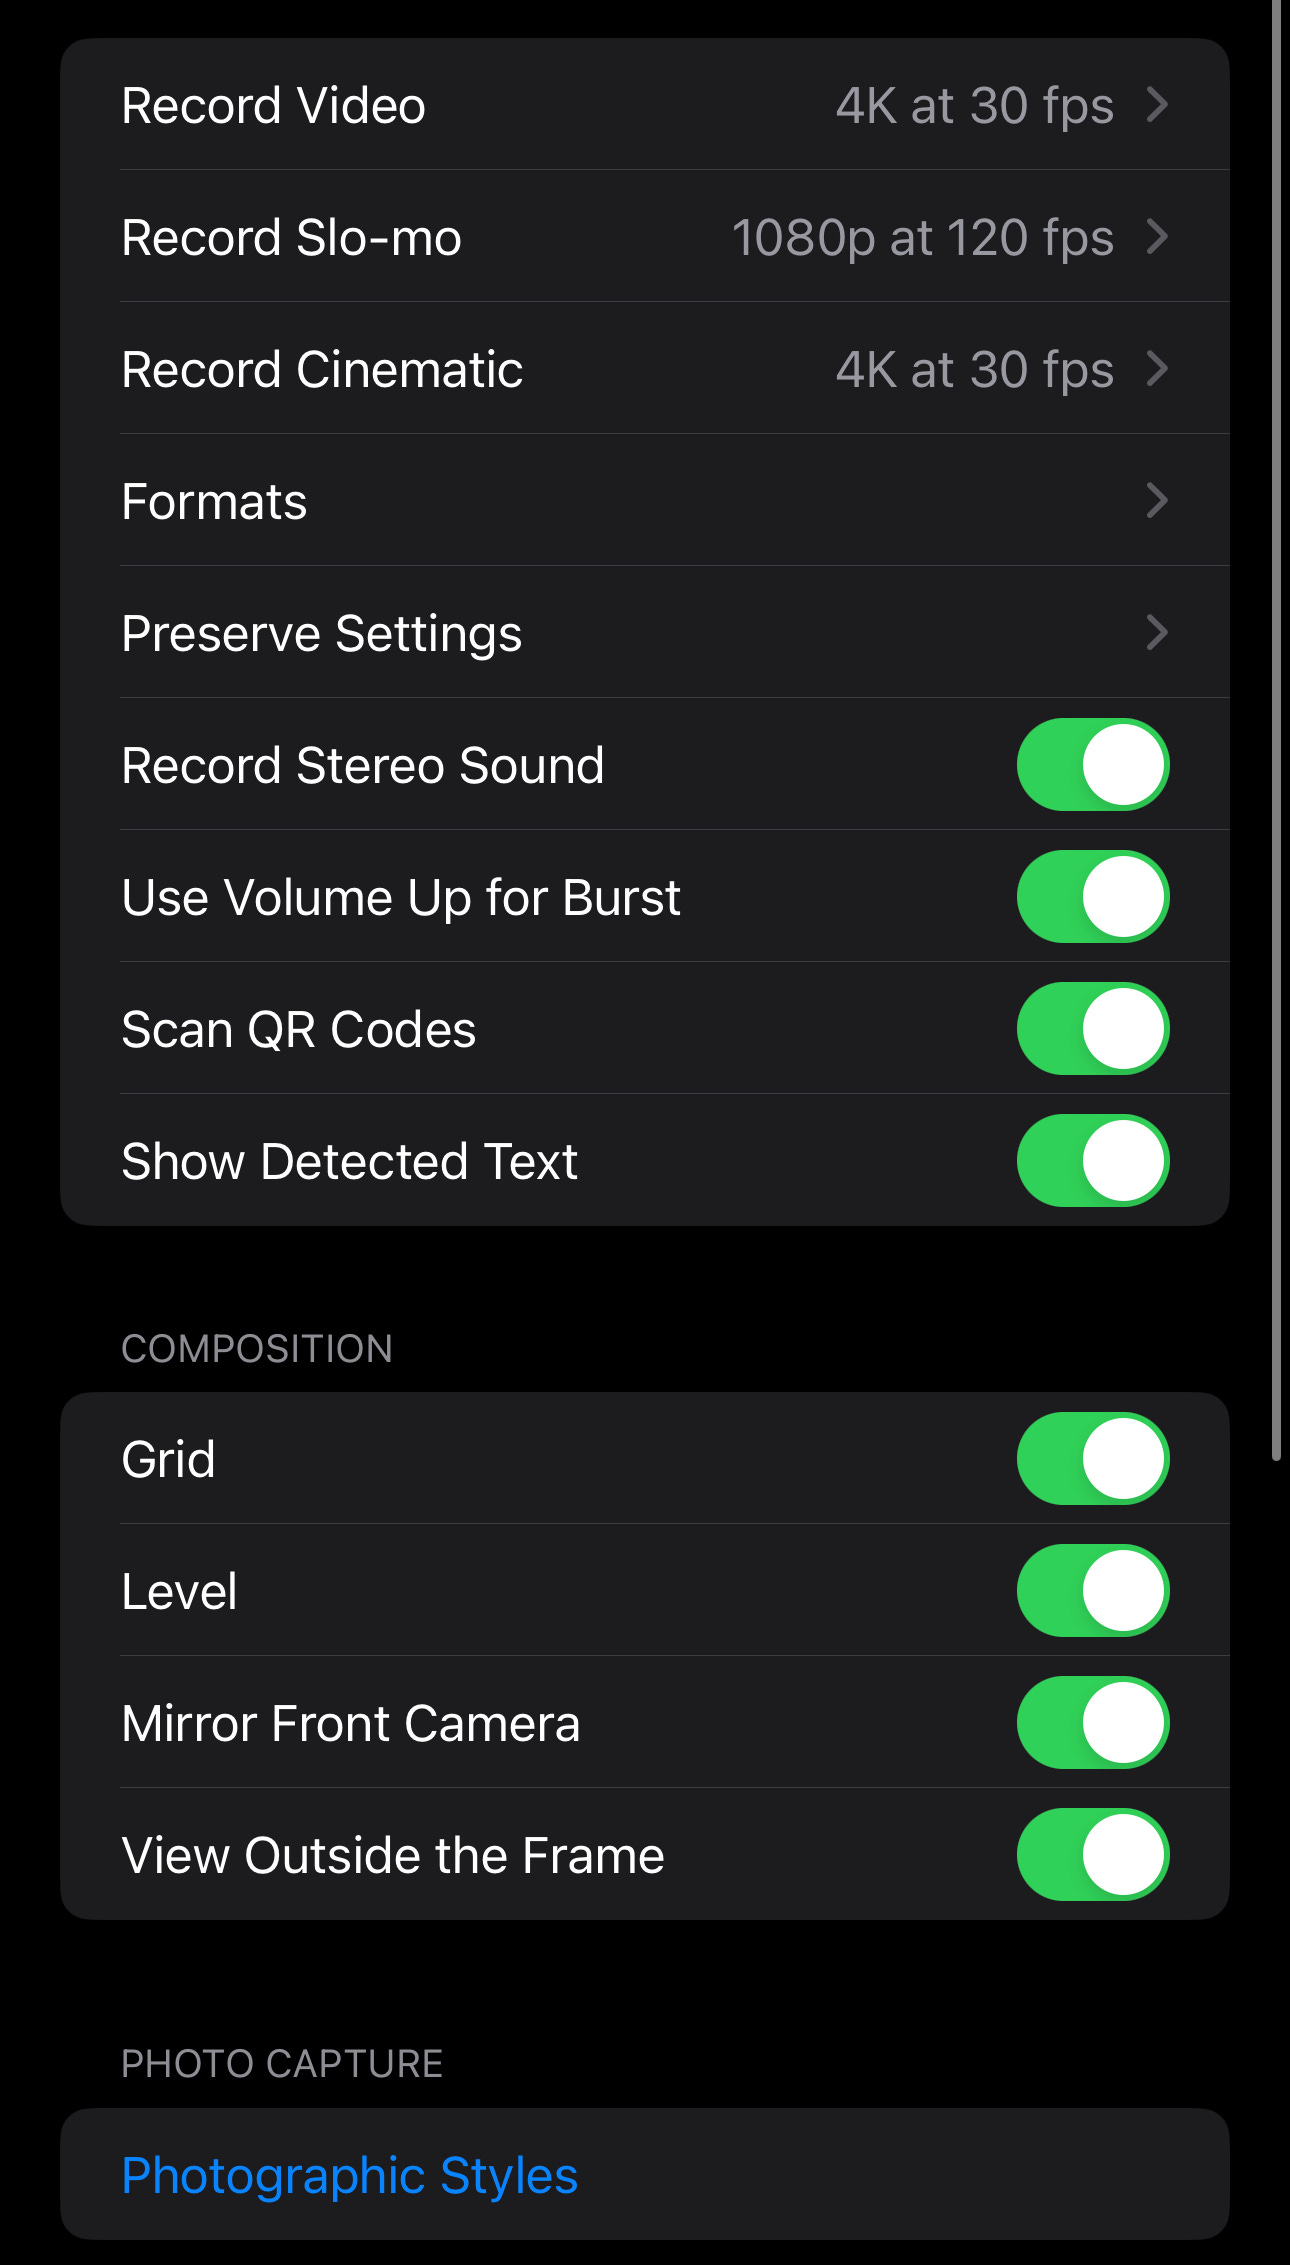
The first thing you will want to do is match these settings.
Most of your photos will be uploaded somewhere, typically Instagram. Phones have advanced further than software, so you will need to work around how Instagram compresses files. For recording video, I recommend using 30 frames per second.
Why: During the upload process, Instagram will format your content for stories, and when 24fps is used, the content tends to get degraded. If you have the option for 60 frames, the files are often so big that IG will degrade them even more. If you are posting video and stories, it's best to use 30fps. You should also turn on all of the composition features. These will be important when you are creating your shots.
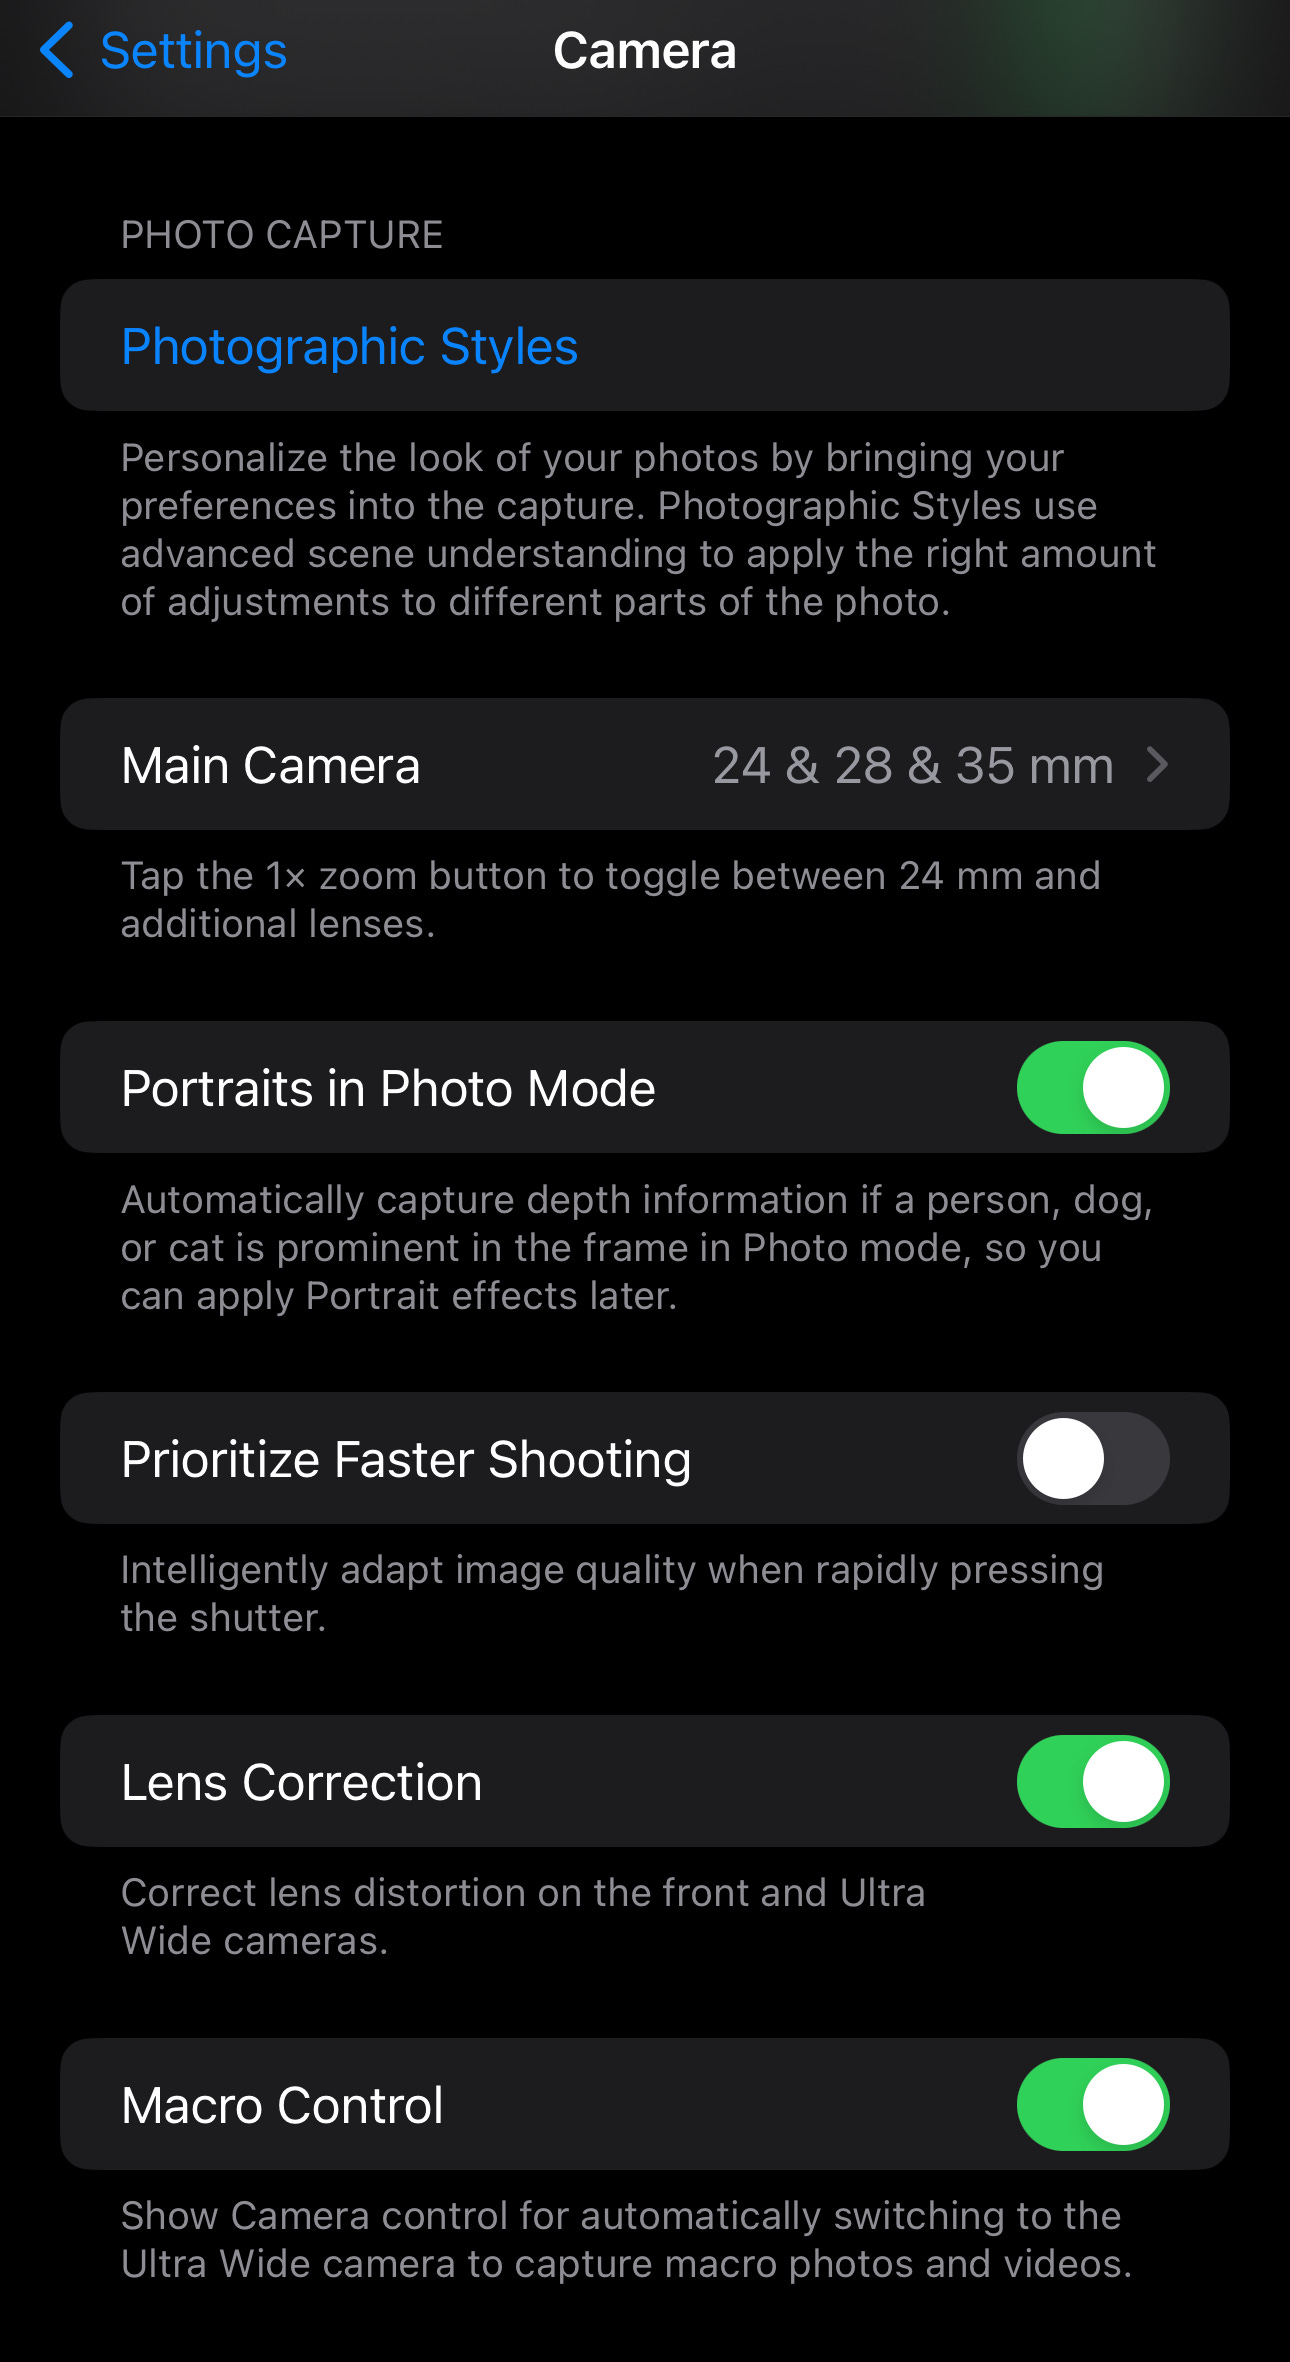
If you have a newer model phone with "Photographic Style" or a feature for HDR pictures, make sure those are off or in standard mode. This will give you much more freedom to edit and color grade your photos in the future. Moving forward, click the "Formats" section.
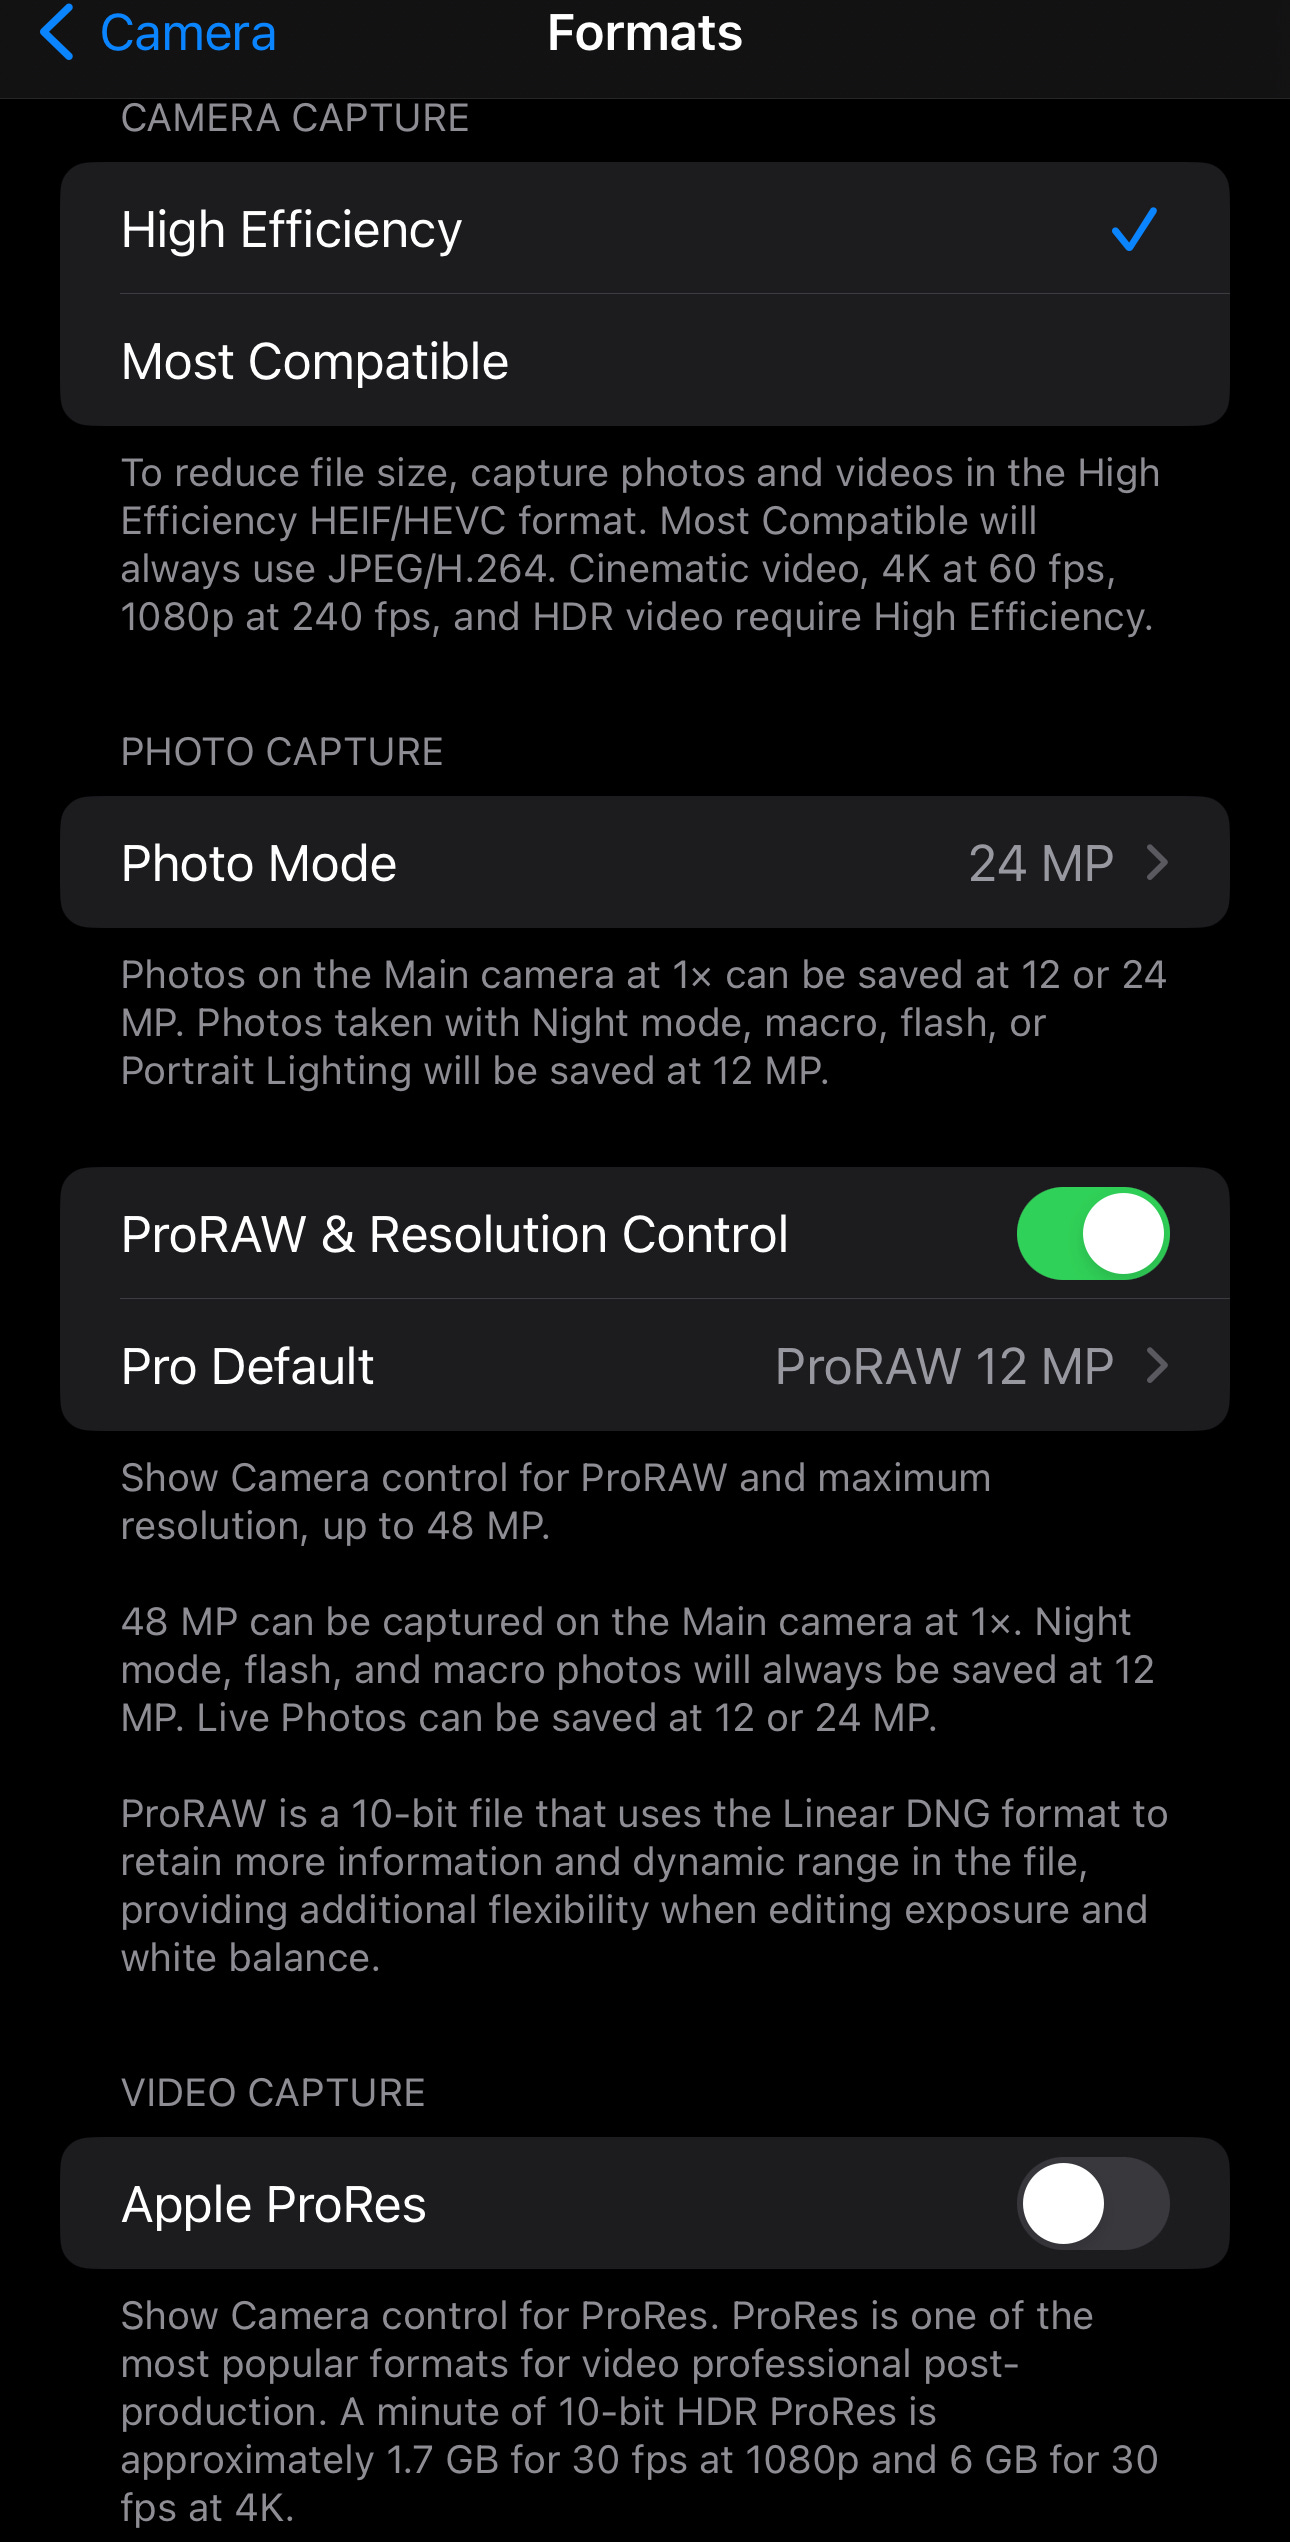
Make sure that you have "High Efficiency" checked. Many people think "Most Compatible" would be best, but JPEGs heavily compress your photos and remove all the data that allows you to make the best edits. Secondly, turn on ProRaw or Raw Image as the default. RAW/DNG (every phone calls the file something different) gives you the widest range to edit. When you initially take the picture, the photos may look muted. This is because you are stopping the phone from autofiltering the colors in your pictures and "baking" that data in. If the phone software bakes the filter into your photo, sometimes the color will not be realistic, and you won't have the ability to edit them without severely degrading the photo quality.
If you happen to have a newer phone, it may give you the option to use a higher megapixel rate. The highest MP rate for regular photos is fine, but for raw photos, I would recommend sticking to 12MP. Why? Because most applications will attempt to degrade a high data file. I was initially excited to take 48MP Raw Photos, but the photos will be 50-90MB each. That's overkill. You are likely not turning these pictures into large prints to hang on the wall. They will be viewed from a cell phone.
For the purpose of this article, if you have the option for ProRes video - don’t use it. While you will often edit your photos, you will rarely need to bring your videos into any full editing software unless you are moving to a more professional grade. Consider how big the average video file size is for a 4K video in ProRes. You don't want gigabytes of clips clogging up your phone.
The last portion is to scroll further down and make sure you have "Prioritize Faster Shooting" turned off and Lens correction turned on.
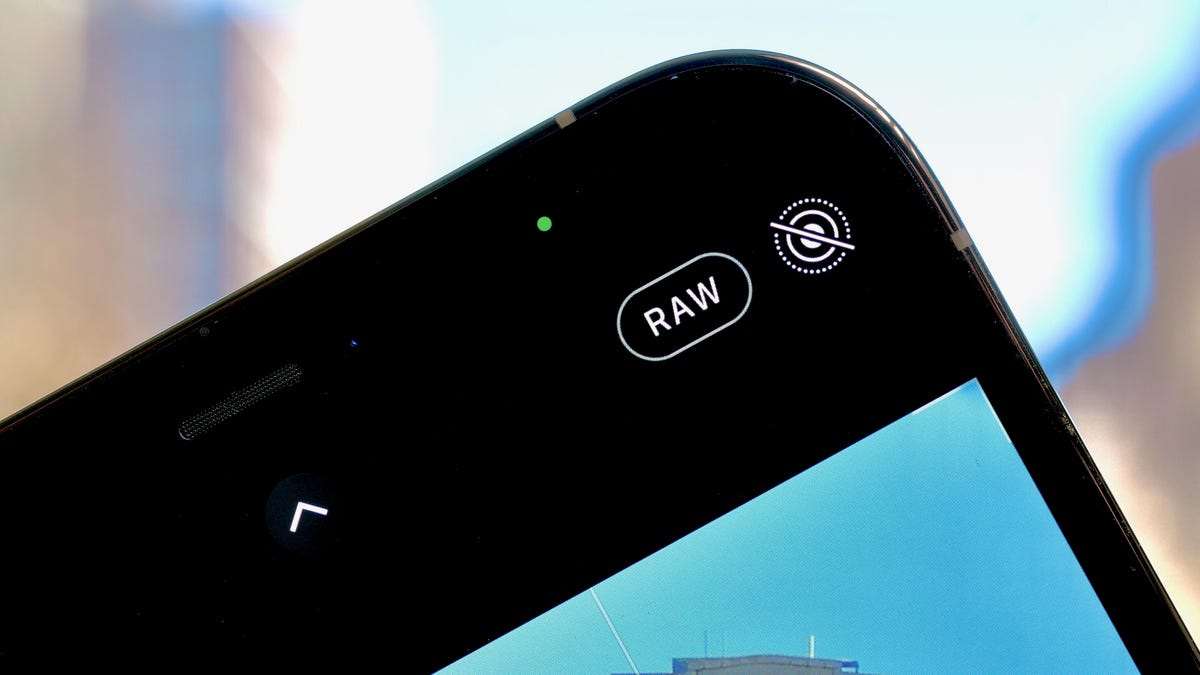
*Note: make sure to go into the "Preserve Settings" area and preserve the raw/resolution settings. Every time you open up your camera, you should look at the top right and make sure RAW is selected.
Photo Composition Rules & Tips
Many people are visual learners. Instead of trying to explain this, I am going to link videos to help you learn (Click the Links for detailed explanations)
Rule of Thirds - The guideline suggests visualizing an image divided into nine equal parts by two evenly spaced horizontal lines and two evenly spaced vertical lines. It advises placing essential compositional elements along these lines or their intersections. This technique asserts that aligning a subject with these points generates more tension, energy, and interest in the composition compared to merely centering the subject.
Fill the Frame - The technique of composing an image so that the positive space occupies most or all of the frame is known as "filling the frame." Filling the frame contrasts with using negative space in a composition. Positive space, often a single subject, is captured in close-up, taking up the entirety of the frame. Achieving this involves getting physically closer to a subject, using zoom lenses, macro lenses, or cropping an image during the editing process.
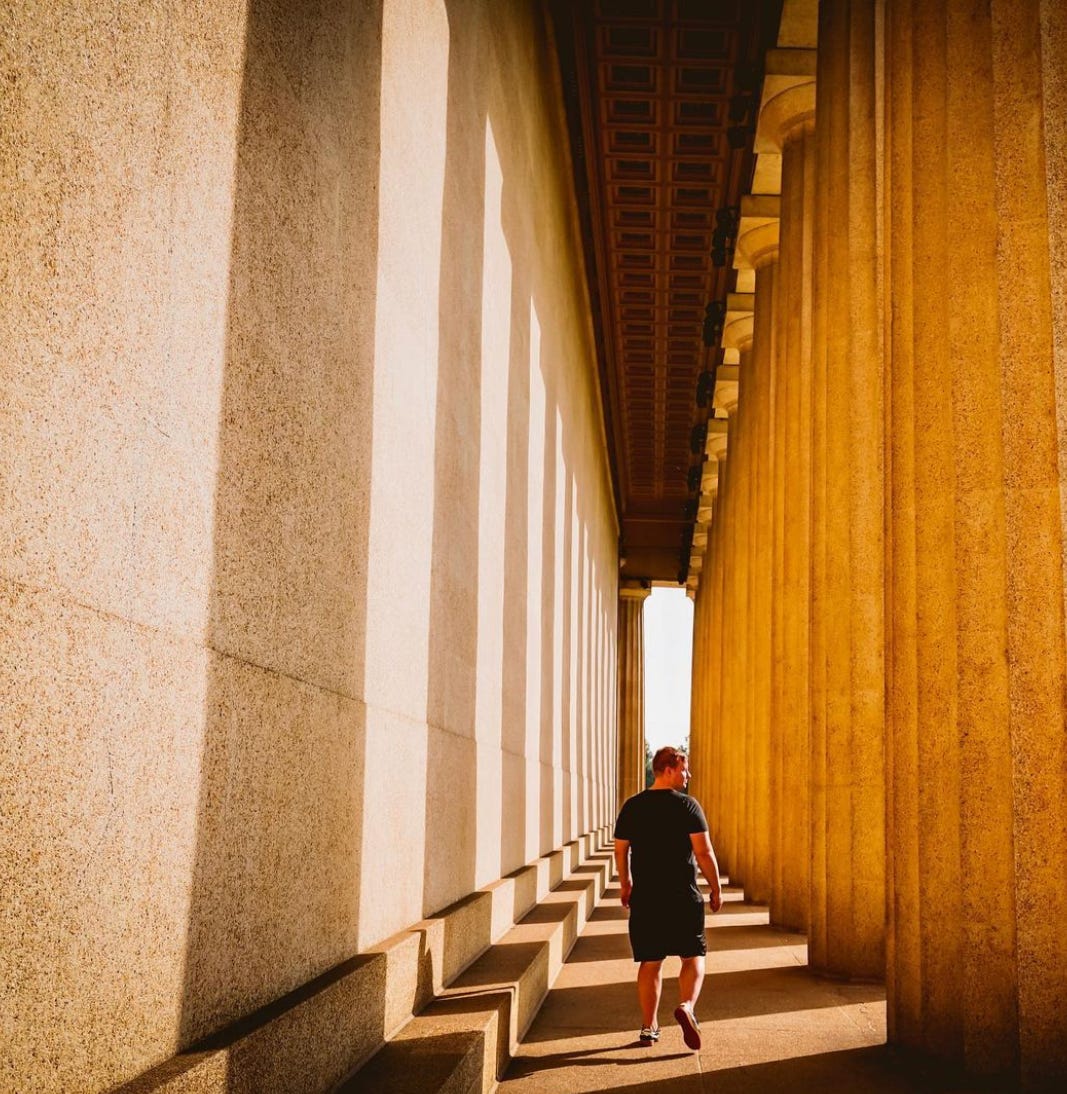
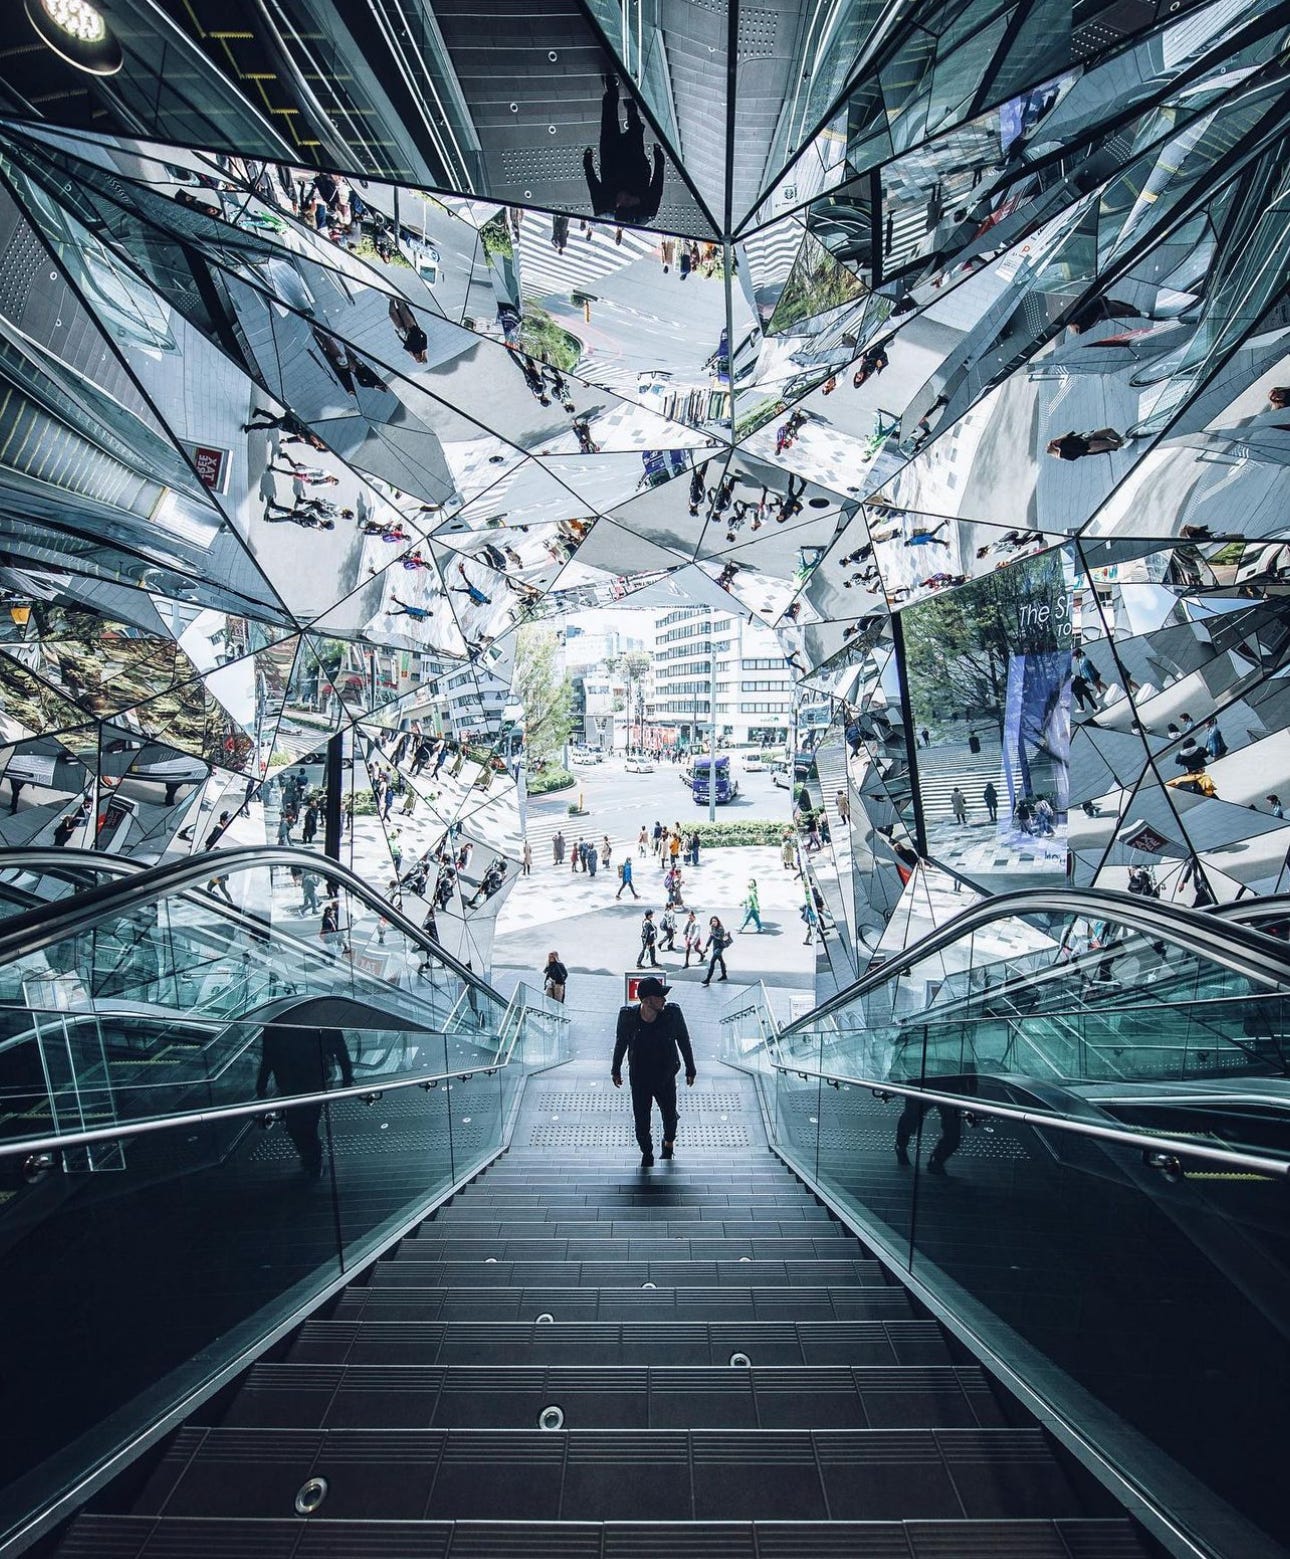
Leading Lines -Lines are optical phenomena that enable artists to guide the viewer's eye. This optical illusion of lines exists in nature, and in visual arts, elements can be organized to produce this effect. The viewer subconsciously navigates the image by following the continuous arrangement of various elements and subjects at different distances.
When you combine these techniques, your content will tell a better story.
Photo Exposure and Focus
Phones typically have software that is great at focusing on faces, but in some cases, you will need to learn to use the manual exposure and focus on your phone. Why? You may look dark in your photo and want to increase the exposure to make certain parts of the photo or yourself more visible. If you want to go further, you could learn more techniques. I will leave some videos at the bottom.
Lenses - Most cameras these days have multiple cameras. iPhones have 3 - Some Samsung phones these days might have 4 or more. These lenses typically include a standard lens, a wide-angle, and a telephoto lens. The standard lens is what you will use the most. While you are taking photos, use your feet. Have your friend or yourself move closer or further manually.
Phone software often degrades the photo quality when it has to digitally zoom. The focal length between the cameras is also different and will provide a different perspective. If you want to use the other cameras, use them at their preset distance for the best image.
*I will have some tips on using these lenses for angles at the end of the article.
Lighting
A lot of times, the lighting of a photo is what makes or breaks it. I've noticed a lot of guys will go out with the intent simply to take pictures and end up with harsh lighting. One thing I do when in photographer mode is to factor in the time of day. Sunrise and sunset are typically the best times to take a picture. The sun will also cast shadows, which adds creativity. Maybe you want your shadow to be against a wall behind you. Perhaps there is a courtyard where the sun doesn't shine until a specific time of day.
Noon often casts harsh lighting on people when the sun is beaming directly down on you. These aspects are technical, but I consider them important. There are apps such as Sunseeker, which will tell you exactly when and where the sun will face during specific times of the day. If you want, go for it. I personally think it's a bit overkill. You can simply open the weather app on your phone, see what time the sunset is, and look up into the sky to do enough mental math to understand where the sun will be.
The sun rises in the east and sets in the west. If your background faces west, you should be there past noon so that the sun faces you. Here are two helpful videos.
Advanced - Cinematic Movements
For anyone interested in a slightly more advanced aspect, delving into videography, creating videos, and reels, I'm just going to drop these two videos. You could spend a lot of time on this subject, but as a visual learning experience, it's better to see someone do it.
Not everyone will feel a need to go this far, but if this is your passion and you really want to go above and beyond, adding some flare to your personal content, this is the easiest way to do it.
Applications For Editing
Now that you have learned some of the technical aspects of photography, I'm moving on to a hopefully short segment on editing. The Native iPhone editor is the best thing you can use as a beginner, even up to an intermediate level. iPhone software has reached a point where you have a full range of features.
Earlier in the article, I mentioned that when you shoot in RAW format, your pictures might have a slightly muted or dull look. This occurs because you are preventing the phone's software from estimating what you want or adding its own color profiles. Because you may want to convey a specific story, you will need to edit some things manually.
There is an auto feature that uses AI to determine the best color and then allows you to fine-tune, but I suggest you watch this video for more information. Fortunately, Apple has made this so intuitive that even children can easily figure it out.
The second tool I recommend familiarizing yourself with is Lightroom Mobile. You can download this from the app store on both iOS and Android. This is a more advanced tool that's still very intuitive. Unlike Adobe's Photoshop that needs a college course to use, Lightroom Mobile gives you additional features to add specialized filters, maskings, and edit out parts of a photo with the "heal" tool. I'm sure you have heard that the desktop versions have additional AI features, but that requires you to download your photos to your computer and spend extra work editing them.
I simply don’t think you should waste time doing that as a casual user. I do, however, recommend you pay for the subscription. It's 5 dollars a month and many of the best features require it. If you're planning to up your content quality, this is a no-brainer.
My personal photography tips
After watching a lot of guys take pictures and consistently be "off," I have noticed a couple of things that can help significantly.
Angle of attack: Most people hold their phones under eye level, often trying to take pictures from their waist. This forces them to look down at the camera and tilt the camera slightly downwards to they can get a good view
The problem with this is that it forces a downward perspective, which often causes everything in the view of the camera to look slightly shorter and wider. It also causes you to miss one of the most important parts of a picture: the sky.
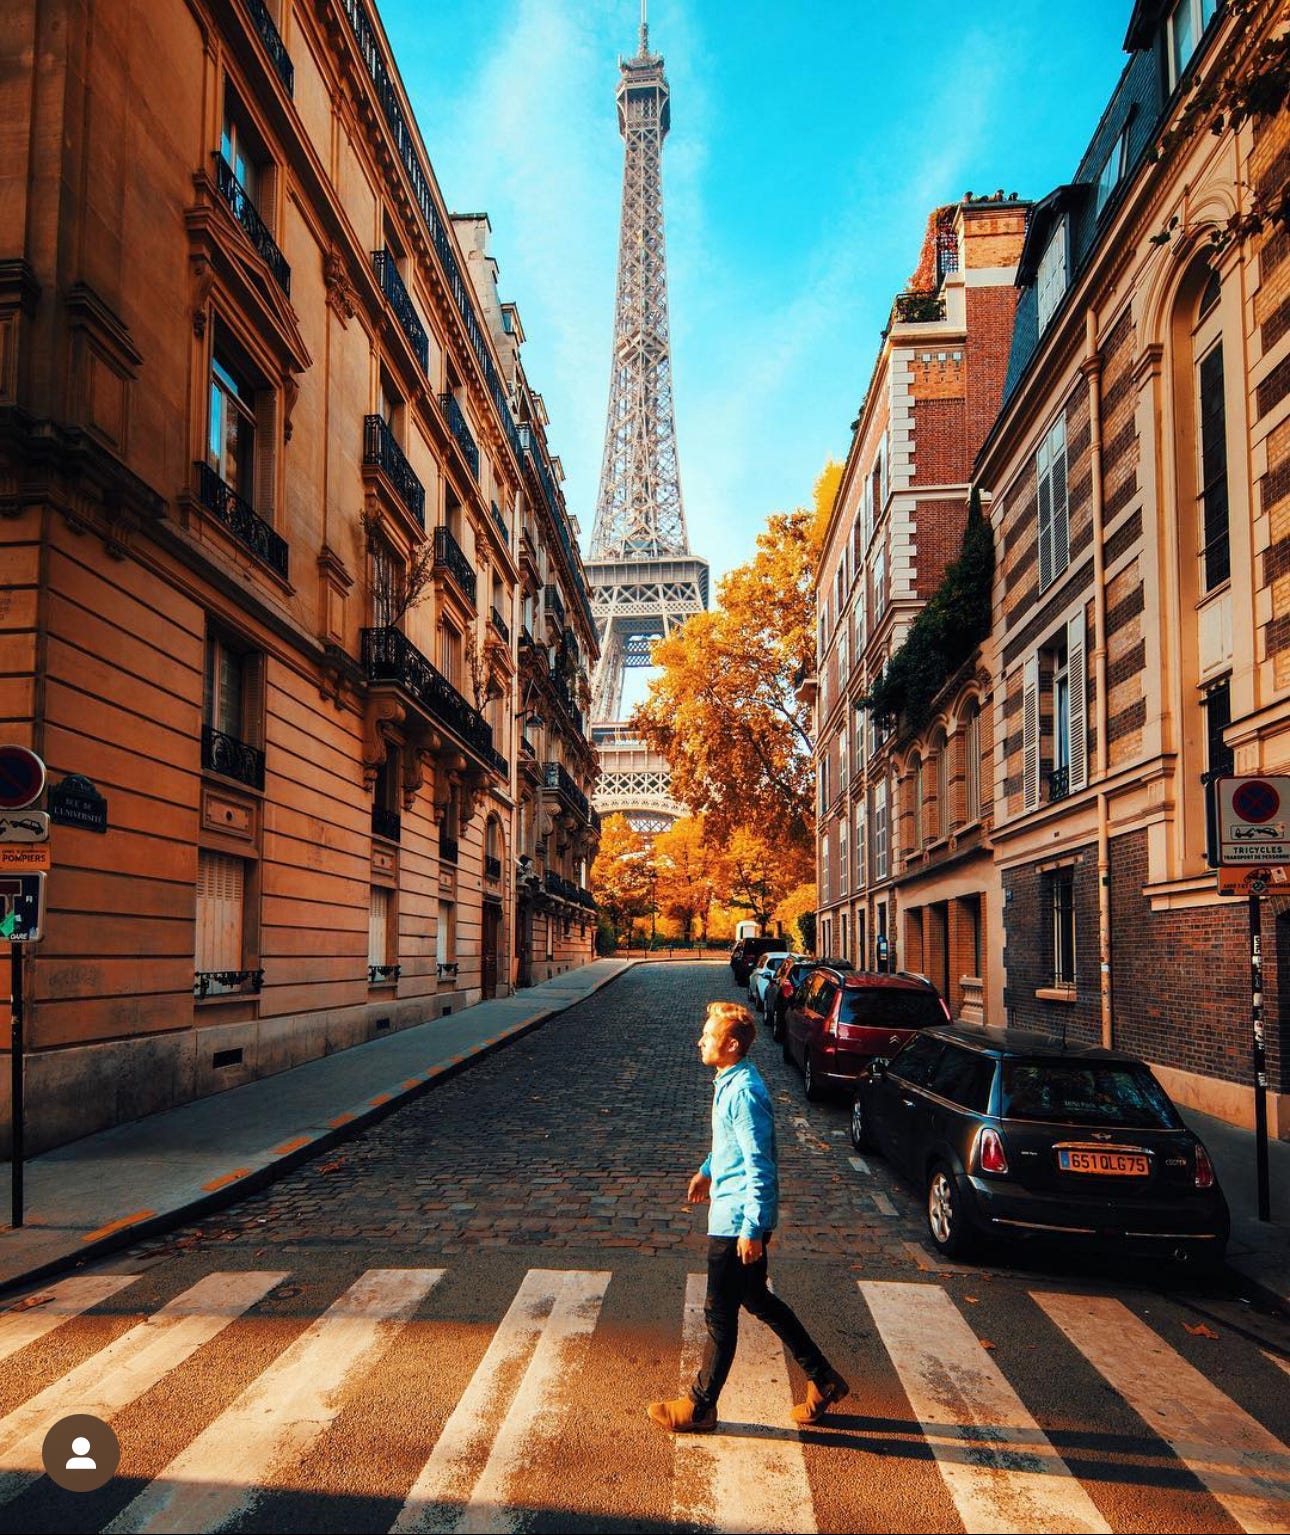
My suggestion is to be aware of this and tilt your phone at a slight up angle. This creates a lengthening effect in the picture and makes the subject look taller.
Lack of Sky
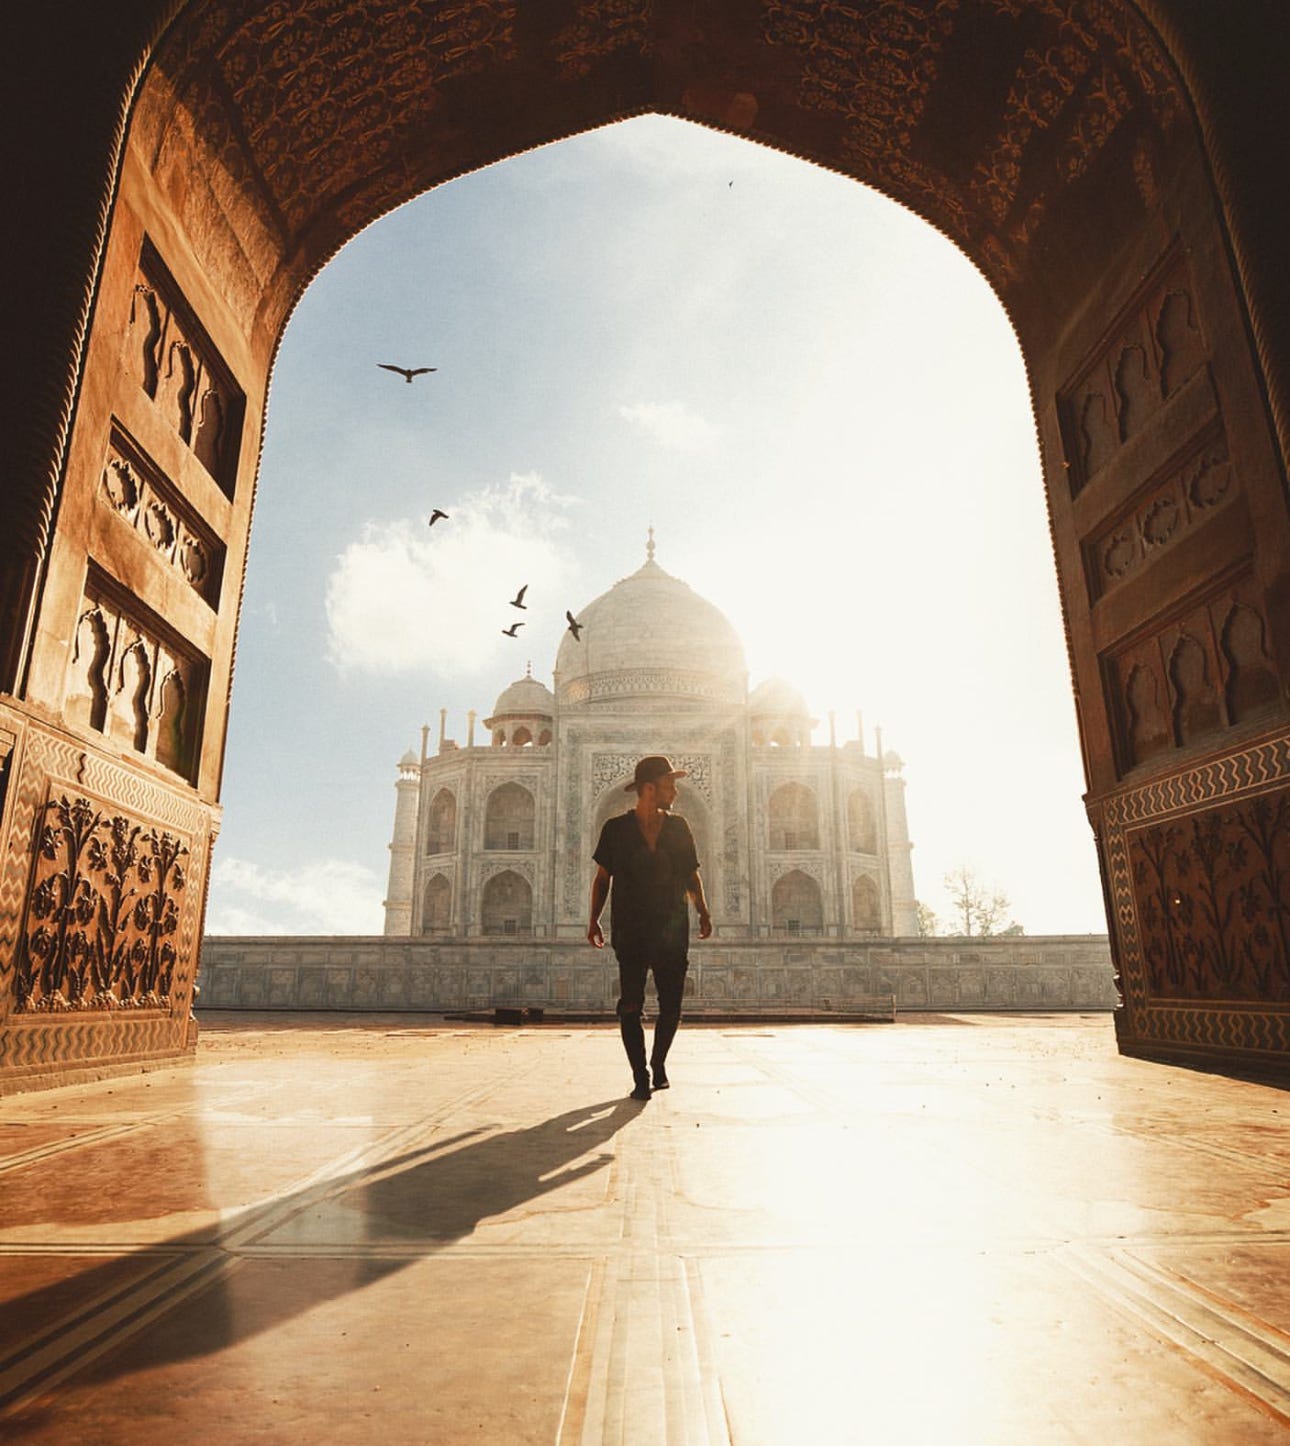
This goes back to the concept of filling the frame. Often, people take a picture straight on and capture the subject and a wall or building directly behind them. With a full-frame/DSLR camera, you have a much wider field of view and can often capture the sky in addition to the subject. Phone cameras have lenses the size of a thumb; they aren't going to capture the full frame.
This means you are going to do 1-2 things to fill the frame. You either lower the camera position and tilt the camera upwards - You walk further away from the subject - which may often make the subject too small. OR You use the 0.5/wide-angle lens on the camera to fill the frame with sky and air.
Photographer's height can occasionally present challenges, especially when individuals are not of "average" height; they may be either extremely tall or extremely short. This height discrepancy affects the photos they take. For instance, I have a friend who is 6’5" and typically takes pictures close to eye level because that's how he naturally views the world - looking down. However, this perspective might seem odd for the majority of people who have difficulty understanding or conceptualizing the angle.
I had to explain to him that he needs to take pictures from a level just below his chest in order to avoid capturing images at a downward angle, which can seem peculiar or unusual to viewers. Conversely, a shorter person may take photos from a position so low to the ground that they miss certain details that a taller person would see.
You are in the scene, you are not the scene.
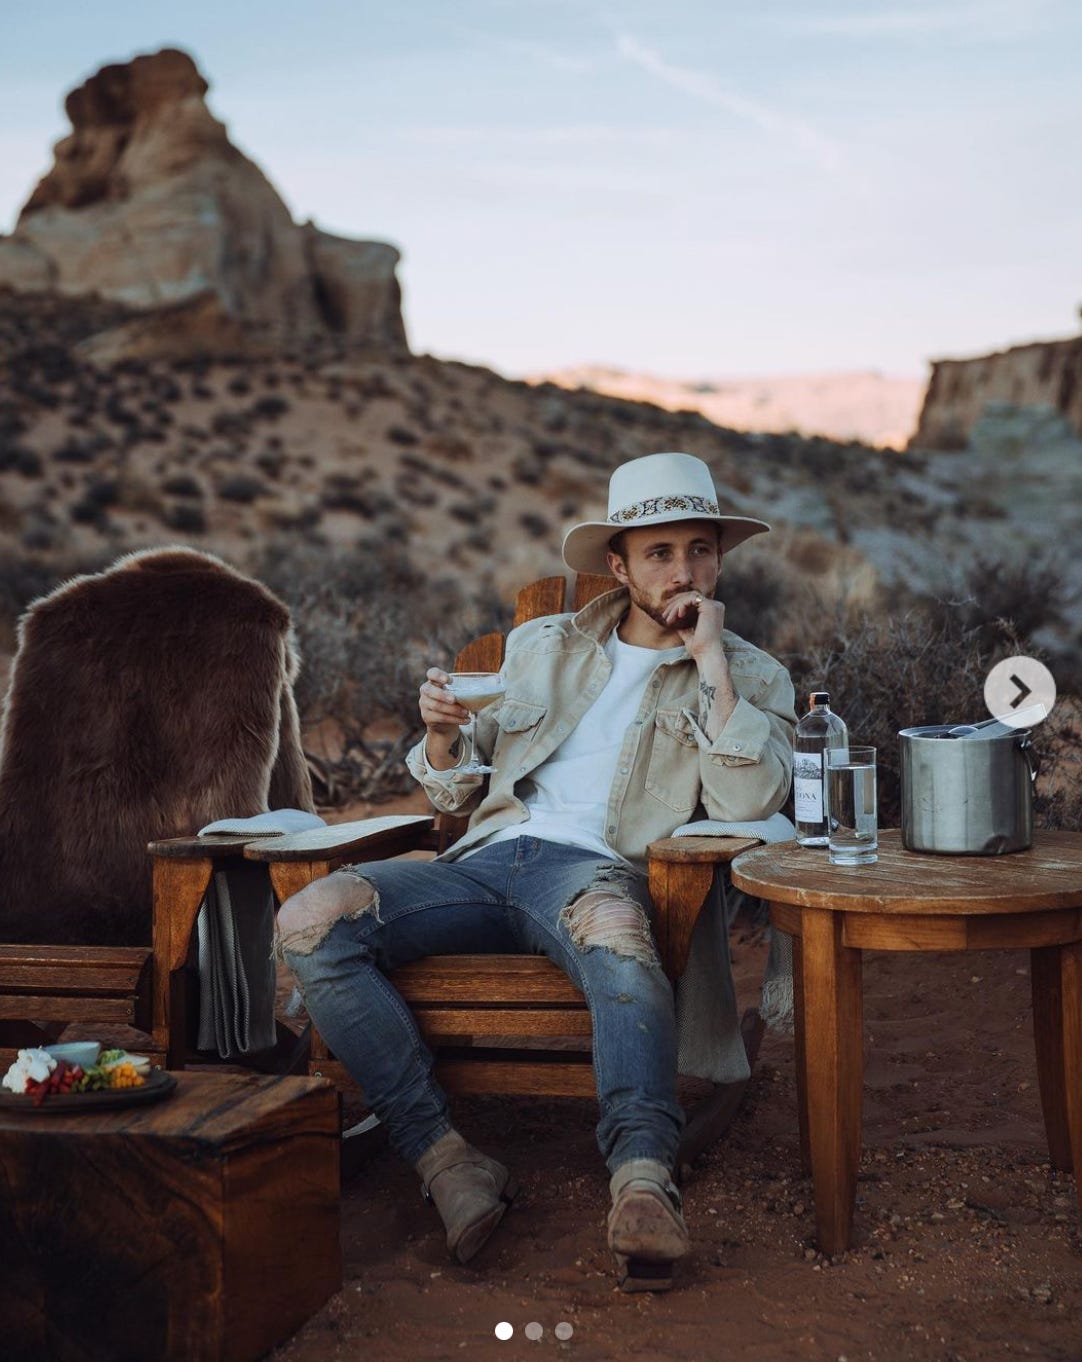
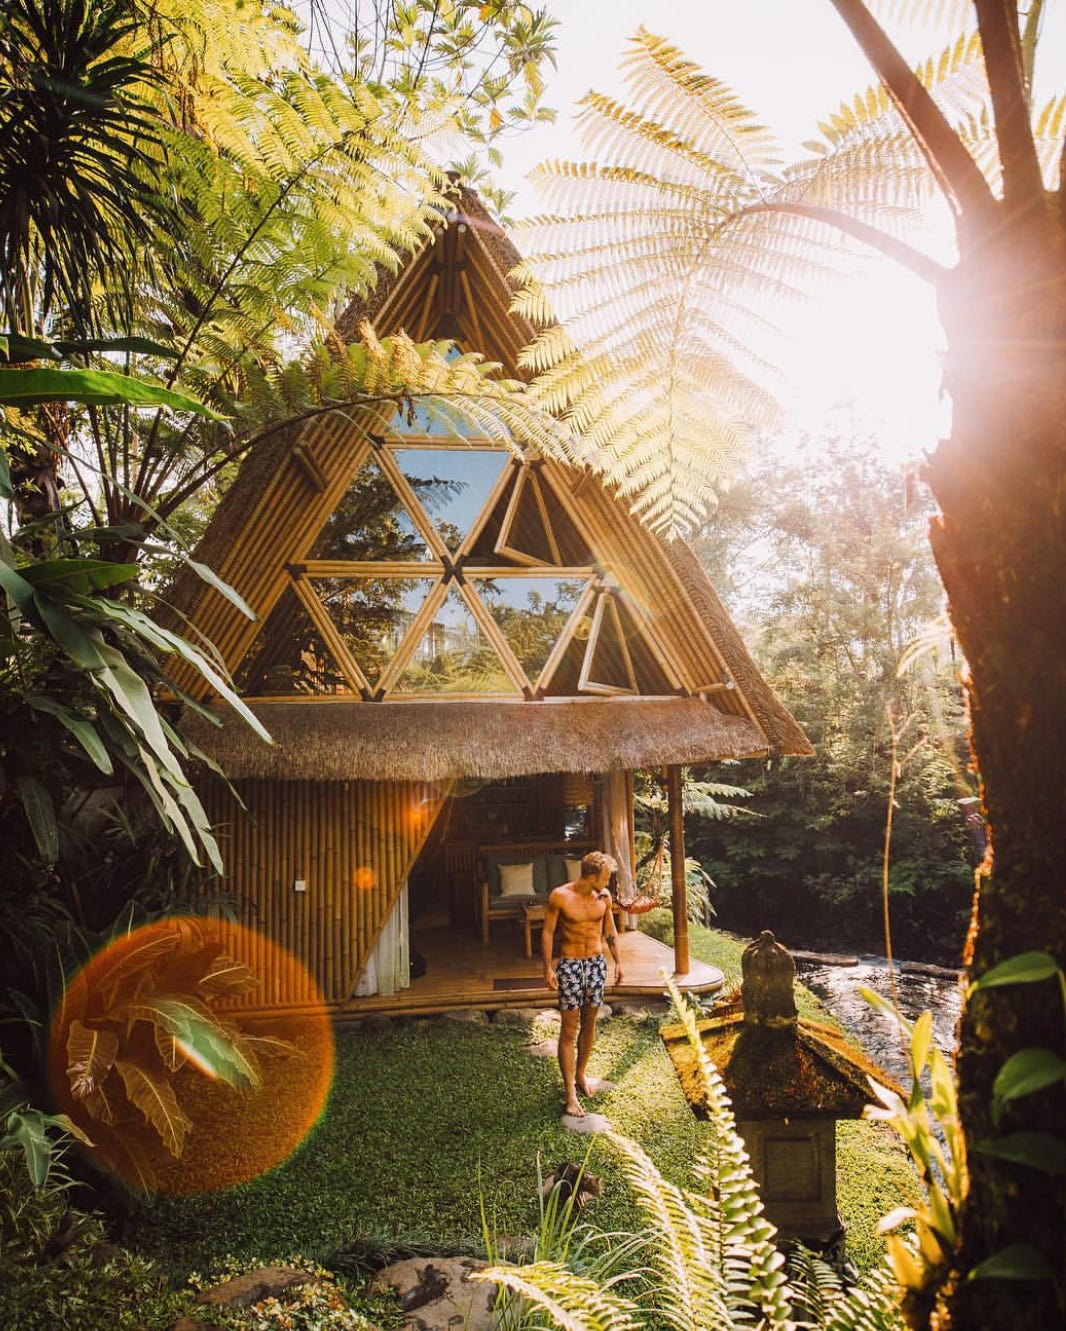
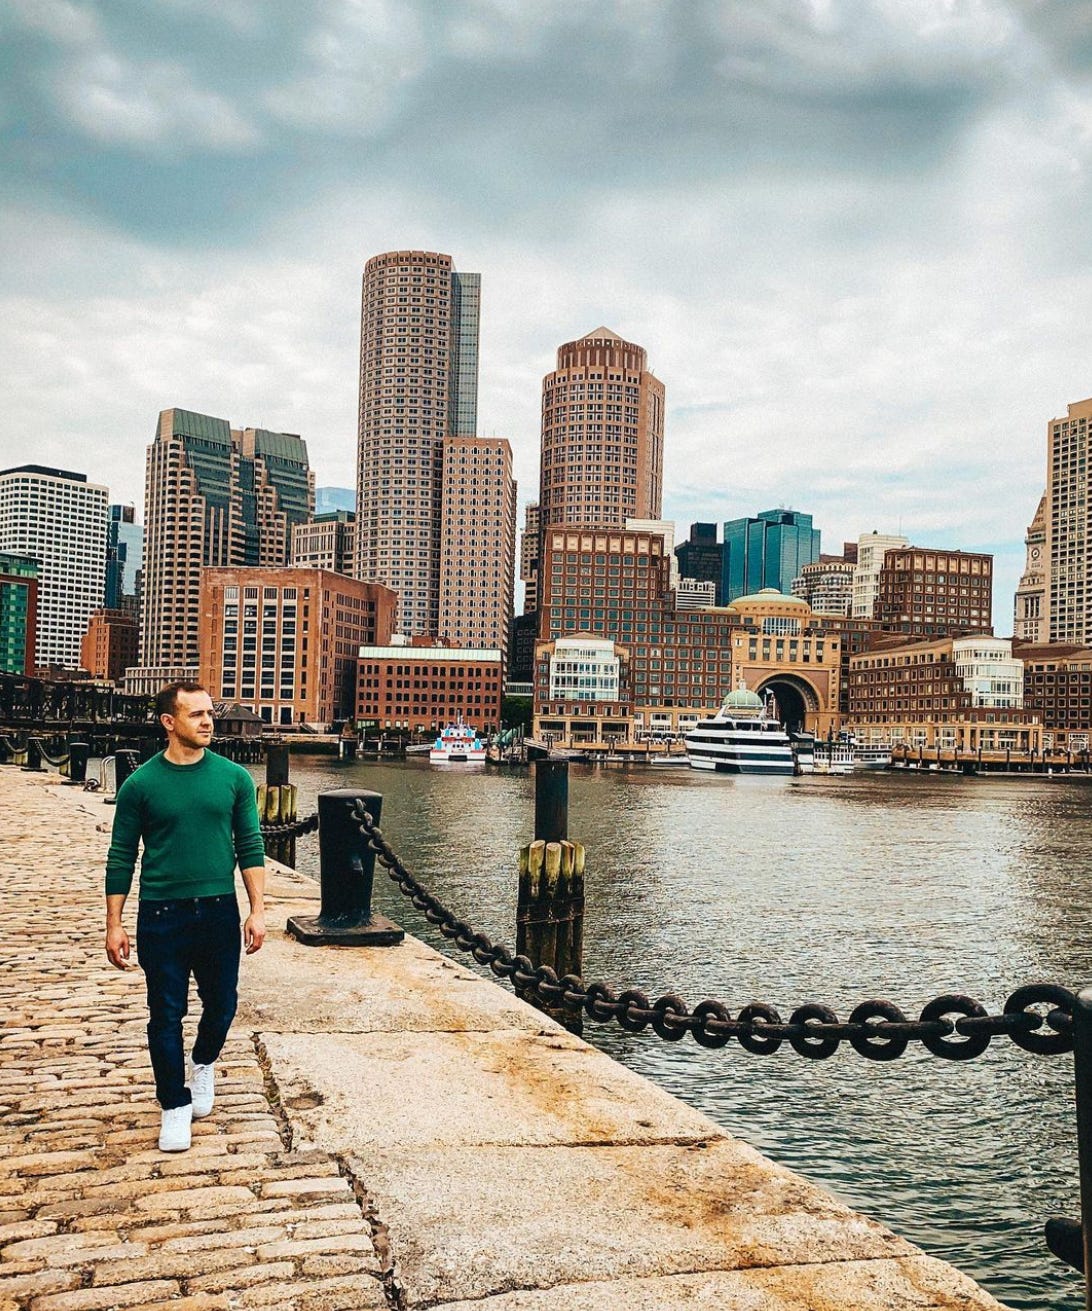
This is something that a lot of people don't understand. Many people pull out their phone to take a picture of a person, and they focus solely on the person themselves. This is the wrong attitude to have in the style of photography. You are trying to tell a story in the pictures. You are attempting to show that you are an interesting person doing interesting things. This means that, in all actuality, you may not be the focal point of the pictures; the location may take precedence.
Train your brain to see what is around the person. This will also help you notice details that shouldn't be in the camera, like a misplaced coffee cup or a random bag on the ground that throws things off, or random people walking in the background. If you're reading this, you likely don't have the Photoshop skills to edit things out.
Yes, if you use Lightroom, you can make minor edits, but why not "stage" the picture correctly? Make sure that you aren't cutting off a balcony or ledge behind you that might "fill the frame," and ensure you have angled the picture in a way that the statue in the background is fully in view.
Guide to posing
While I have posted videos to help you pose, in the previous article, Here are some additional ones
3 Poses for Men in shorts
Sitting Poses
4 General Poses for Men
Poses
Poses 2
This should provide you with almost every tool you need to create a high-quality and high-status social media or dating profile. The next step would be to learn how to leverage all of this in a way that allows you to attract, meet, and date hotter women.Or Break Into a Cities Social Scene.
Guide To Instagram Dating: Leveraging Social Media to Date Hotter Women
*Instead of writing multiple individual substack articles on this subject, I have combined them all into a 50 page PDF/Course that can now be purchased on Gumroad. Instagram Dating Series Are you tired of the same old dating apps, where you either get Zero Matches or the matches you do get never convert to dates? Have you ever noticed that the quality of …
Wanna take your life to the next level? - Schedule a call or join our Mentorship Program today!


